
Relic appraisal explained: Relics vs Spoils, where to appraise, random stats and best farming routes.
Relic Appraisal Guide: Relic Weapons, Spoils & Farming
Relic weapons and armor are the Dark Arisen endgame chase: unidentified Relics and Spoils drop across Norgan, and Jiera at the Norgandian Settlement appraises them into usable gear with randomized stats for a small Rift Crystal fee. As of the Dark Arisen launch on October 9, 2026, only the loop itself is officially confirmed; drop tables, fees, and rarity odds below come from launch-week player guides and are marked provisional.
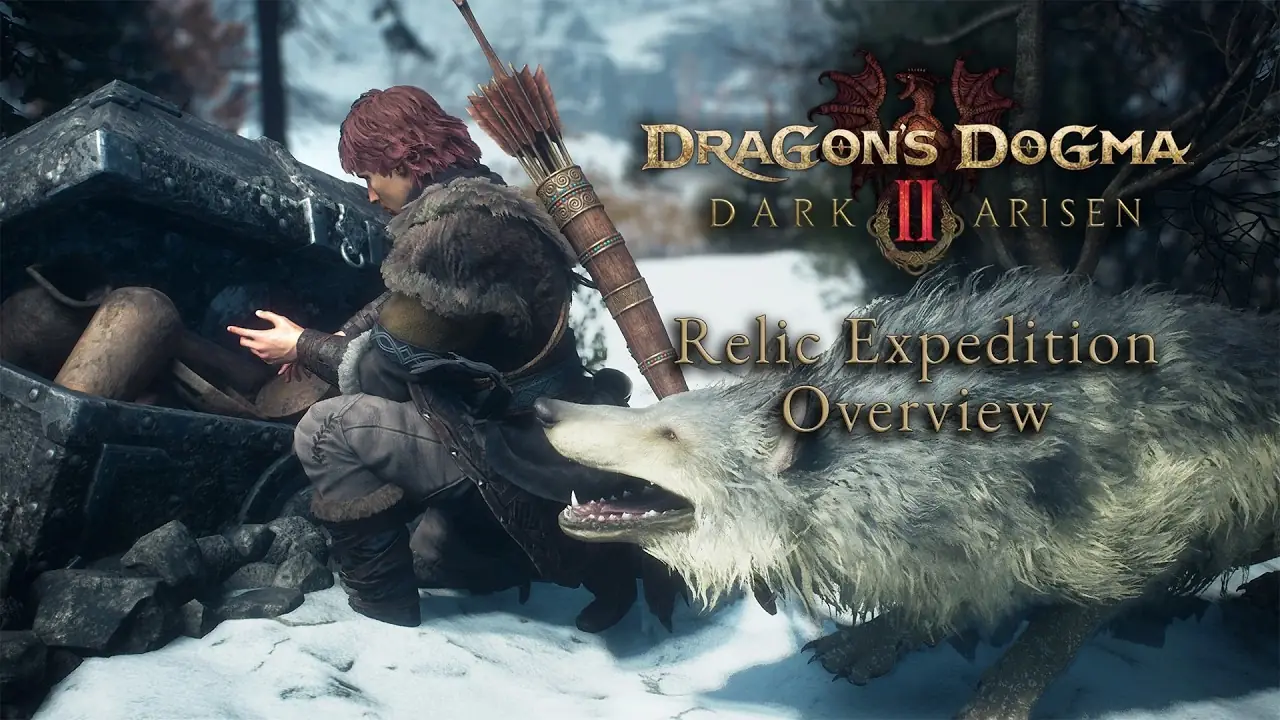
How the Relic Expedition Cycle Works
The relic loop is the expansion's signature system: producer Naoto Oyama calls it a deliberate callback to the first Dark Arisen's Bitterblack Island loop. Capcom's official line is short: loot Relics in Norgan, appraise them at the settlement, take home weapons, armor, and skills with random parameters.
Official source: Dragon's Dogma 2: Dark Arisen official site
In practice the cycle has three steps: hunt Norgan monsters, chests, and gathering points for unidentified Relics and Spoils; haul them back to town (drops add carry weight, so return often); and have Jiera appraise each piece for a small Rift Crystal fee. Then equip upgrades and head out again.
Capcom's official Relic Expedition overview (YouTube) shows the loop in action. If the expedition is not open yet, see How to Start Dark Arisen DLC: Brant Location & Requirements first, and check the Dark Arisen Level Requirement guide: Norgan is tuned around level 40.
Player guides agree relic gear quickly becomes the strongest equipment available, and the region is balanced around that. Clear some Lost Rites trials first and appraise whatever you find along the way.
Relics vs Spoils: What Is the Difference?
New players get tripped up by the vocabulary, partly because guides use the two words loosely. As of launch week, no official glossary separates them, so the working distinction below follows how launch coverage consistently uses each term:
| Term | What it means |
|---|---|
| Spoils | Raw, unidentified drops from enemies, chests, and gathering points |
| Relics | The same pool, often the higher-tier pieces; also the umbrella name for the system |
| Ancient Spoils | Spoils with the Ancient prefix; guides describe better odds of top-quality results |
| Appraised gear | Finished weapons and armor with rolled stats, sometimes Ducats, curatives, gold, or scrolls |
Appraisal can also pay out non-gear results: VGC lists Norgan Ducats (the expansion's answer to Seeker's Tokens), curatives, gold, and even rare scrolls. Nothing is usable until appraised. For which finished pieces are worth chasing, see Best Weapons & Armor in Dark Arisen.
Where to Appraise: Jiera at the Norgandian Settlement
One NPC handles everything: Jiera, in the Norgandian Settlement. VGC confirms a small Rift Crystal fee per piece, and IGGM's system guide agrees that a relic's result stays hidden until appraisal completes.
| Appraisal fact | Detail | Source tier |
|---|---|---|
| Who appraises | Jiera, NPC in the Norgandian Settlement | Multiple player guides agree |
| Currency | Rift Crystals, a small amount per piece | VGC (exact fee unconfirmed) |
| What you cannot know yet | Exact fee per tier, whether fees scale with relic level | Unconfirmed as of launch |
Crystals also pay for pawn hires, and route guides warn that hires and gold-tier Spoils compete for the same wallet. Split your crystals between hires and a stack of appraisals before leaving town.
Because appraisal costs crystals and results are random, identify in batches, keep upgrades, and convert the misses into your next run's funding.
Random Stats, Levels and Rarity: What Appraisal Can Roll
Randomness is the whole point, and director Kento Kinoshita told TheGamer at Tokyo Game Show the team tuned drops to avoid feeling excessively grindy (read the interview). The headline safeguard: drops favor the vocations you and your main pawn actually play.
Player-written system guides describe the roll in these terms. Treat every line as provisional until datamined tables appear:
| Roll factor | What player guides report | Confidence |
|---|---|---|
| Relic level | Each relic has a level that sets the resulting weapon attack or armor defense; higher levels roll stronger base stats | Medium, multiple guides |
| Rarity tiers | Each level comes in rarity tiers that gate reward quality; bosses with dedicated health bars tend to drop higher-level or higher-rarity Spoils | Medium, multiple guides |
| Ancient prefix | An Ancient in the name signals better odds of high-quality gear, not a guarantee, in a system guides compare to Diablo-style loot | Low-medium, mainly IGGM |
| Skill slots | Higher-level relics roll extra skill slots more often; one guide claims up to four special effect slots per weapon | Low, single source |
| Active vs passive | Armor gives passives only; weapons can add active skill upgrades for that vocation | Low-medium, mainly IGGM |
| Vocation weighting | Drops lean toward your and your main pawn's vocations by design | High, director interview |
No two appraisals give the same item, and higher-tier inputs improve the odds without guaranteeing a god roll. If a guide quotes exact percentages in the launch window, it is guessing.
Where Relics Drop and Best Farming Routes
Confirmed three sources, per the director interview plus launch coverage: combat drops (field enemies, health-bar bosses worth several relics each, Colossal Yetis, snowfield dragons), exploration (chests, gathering nodes, abandoned settlements and caves), and Freki the white wolf, who leads you to buried Spoils once fed. One guide adds that Norgan thieves can steal Spoils and flee, but their snow footprints can lead to a nest with your goods plus extra. For the lay of the land, the Norgan Region Guide covers the settlement and routes.
No community route is settled science yet, but launch-week farming guides converge on the same loop. Adapt it to your level rather than copying it blindly:
- Set your vocation first. Drops favor your and your main pawn's vocations, so change vocations in town before leaving.
- Buy the drop-rate boon. One guide reports an Obelisk of Benediction Spoils Spawn Rate Boost (7,000 Dcp with the Sigil of Devotement, which extends the duration) tuned to your vocation. Single source, but cheap to test.
- Work Freki first. Feed the wolf and follow it to buried Spoils for safe bulk, then clear nearby caves and settlements on the walk back.
- Hit one combat pocket. Beorcan warriors at their firepits for steady mid-tier Spoils, or the Norgan Giant for armor and heavy weapon rolls.
- Save the ice dragon for last. Fimbl holds relics of greater potential, but a wipe deletes the trip, so attempt it only when your current gear already functions.
- Haul back and appraise in batches. Unidentified loot weighs you down; return to Jiera regularly.
Match the target to your gear: Freki and caves every run, Beorcan camps for standard runs, the Norgan Giant once your party handles ice breath, and Fimbl only when already well geared.
Obelisk costs, Dcp figures, and respawn timers come from single launch-week sources. The loop shape is corroborated across several guides; the numbers are not.
Fast travel keeps the loop moving: the Eternal Ferrystone guide explains unlimited travel, and the beginner tips checklist covers supplies and meat for Freki.
Frequently Asked Questions
What is the difference between Relics and Spoils?
In launch-week usage, Spoils are the raw unidentified drops and Relics is both the umbrella term and the label for higher-tier pieces; Ancient Spoils are the top-tier inputs.
Where do I appraise Relics?
With Jiera at the Norgandian Settlement, for a small Rift Crystal fee per piece.
Are relic stats really random?
Yes. Every appraisal rolls its own stats and possible skill enhancements, so farm in volume. Higher-level and Ancient inputs improve the odds but never guarantee a god roll.
Do drops match my vocation?
Mostly. Drops favor the vocations of you and your main pawn, so set the vocation you want gear for before the run. Off-vocation drops still happen, just less often.
Related Guides
- Lost Rites Dungeons: All 12 Locations & Rewards
- Norgan Region Guide: Map, Story & Exploration
- Best Weapons & Armor in Dark Arisen
- How to Start Dark Arisen DLC: Brant Location & Requirements
- Dark Arisen Level Requirement: When to Enter Norgan
- Eternal Ferrystone: Unlimited Fast Travel Guide
- 15 Beginner Tips Before Entering Norgan
More Dark Arisen coverage lives on dragondogma2.wiki. External references: official Dark Arisen site, Relic Expedition overview video, VGC Relics, Spoils and Appraisal guide, TheGamer TGS relic interview, Fextralife Relic wiki, Game8 best weapons for Dark Arisen.
More Dragon's Dogma 2: Dark Arisen Guides
Dark Arisen price & editions: $29.99 DLC vs $49.99 bundle, Switch 2 bundle-only, what to buy.
Dark Arisen review roundup: Metacritic score, Steam rating, critic verdicts and is it worth it?
Dragonsplague explained: symptoms, combat buffs, Dragonsbaulk Draught cure and keep-or-cure strategy.
Eternal Ferrystone guide: how to get it from Brant, how to use fast travel with Portcrystals.
Hard Mode guide: how to enable, difficulty changes, old saves, and whether to start fresh or NG+.
How to change appearance: character creator, mid-game changes, pawn looks, new hairstyles and tattoos.
How to start the Dark Arisen DLC: Brant location, night requirement, level 40/20 guide and quest fixes.
How to unlock transmog in Dark Arisen: Reaching the Far Shore quest, Hal location and Relic gear limits.